Poplar Studio’s core business consists in offering retailers the opportunity to integrate Augmented Reality technology (AR) within their e-commerce sites in a straightforward and quick way.
The Shopify app is born as a partner app to Poplar Studio’s own CMS, which allows Shopify retailers to embed AR technology into their Shopify stores within the Shopify environment.
Requirements
The Shopify app has been designed and built with the CMS in mind, but we have removed a lot of the complexity that’s found in the CMS, therefore making it a stripped-down version of the former. When designing this, I had the following requirements to cover:
- The design and style of the app should follow Shopify’s design system and guidelines. This means we should be following Polaris, Shopify’s own design system.
- The app should live within the Shopify environment. A lot of apps you can install on Shopify actually take the user outside of the main Shopify platform and into the app builder’s platform. This makes for a fractured UX experience, which we wanted to avoid at all costs.
- The Shopify app should allow users to do three main things:
- Request 3D models to be built based on their product catalogue.
- Upload either the provided 3D models or their own 3D models and pair them up with the items in their product catalogue.
- Convert 2D images (e.g. artwork) into 3D models by embedding the image into a 3D model of a frame.
- The Shopify app should also include secondary screens, such as:
- Set up screens for View in AR button, Embed Unit styling, Categories and selecting a pricing tier.
- Access to an analytics dashboard.
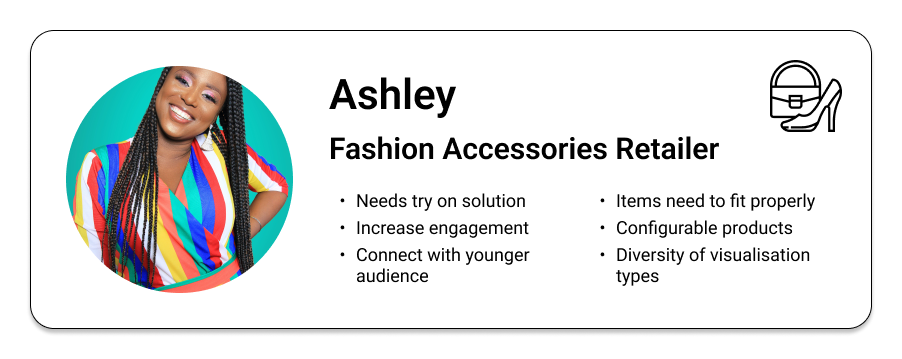
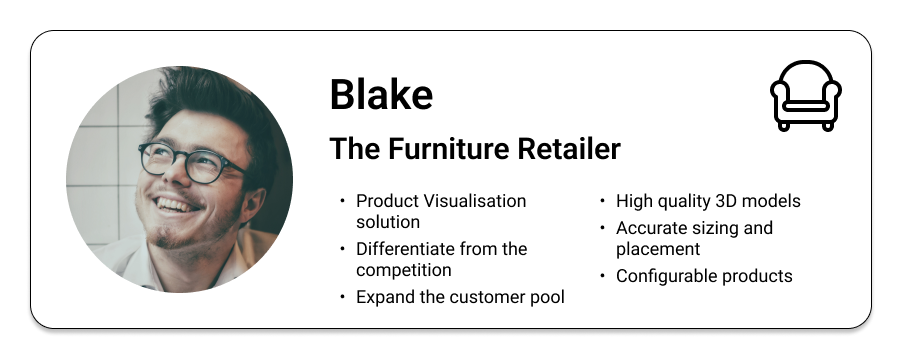
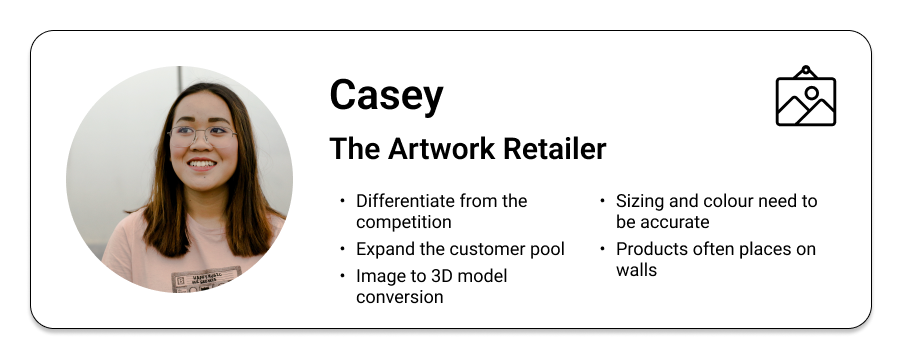
Personas
Our three main personas for the Shopify app are Ashley, Blake and Casey, our three retailers. Casey will be the user also interested in the 2D>3D conversion feature, as she sells artwork and thus can easily turn her products into 3D models.
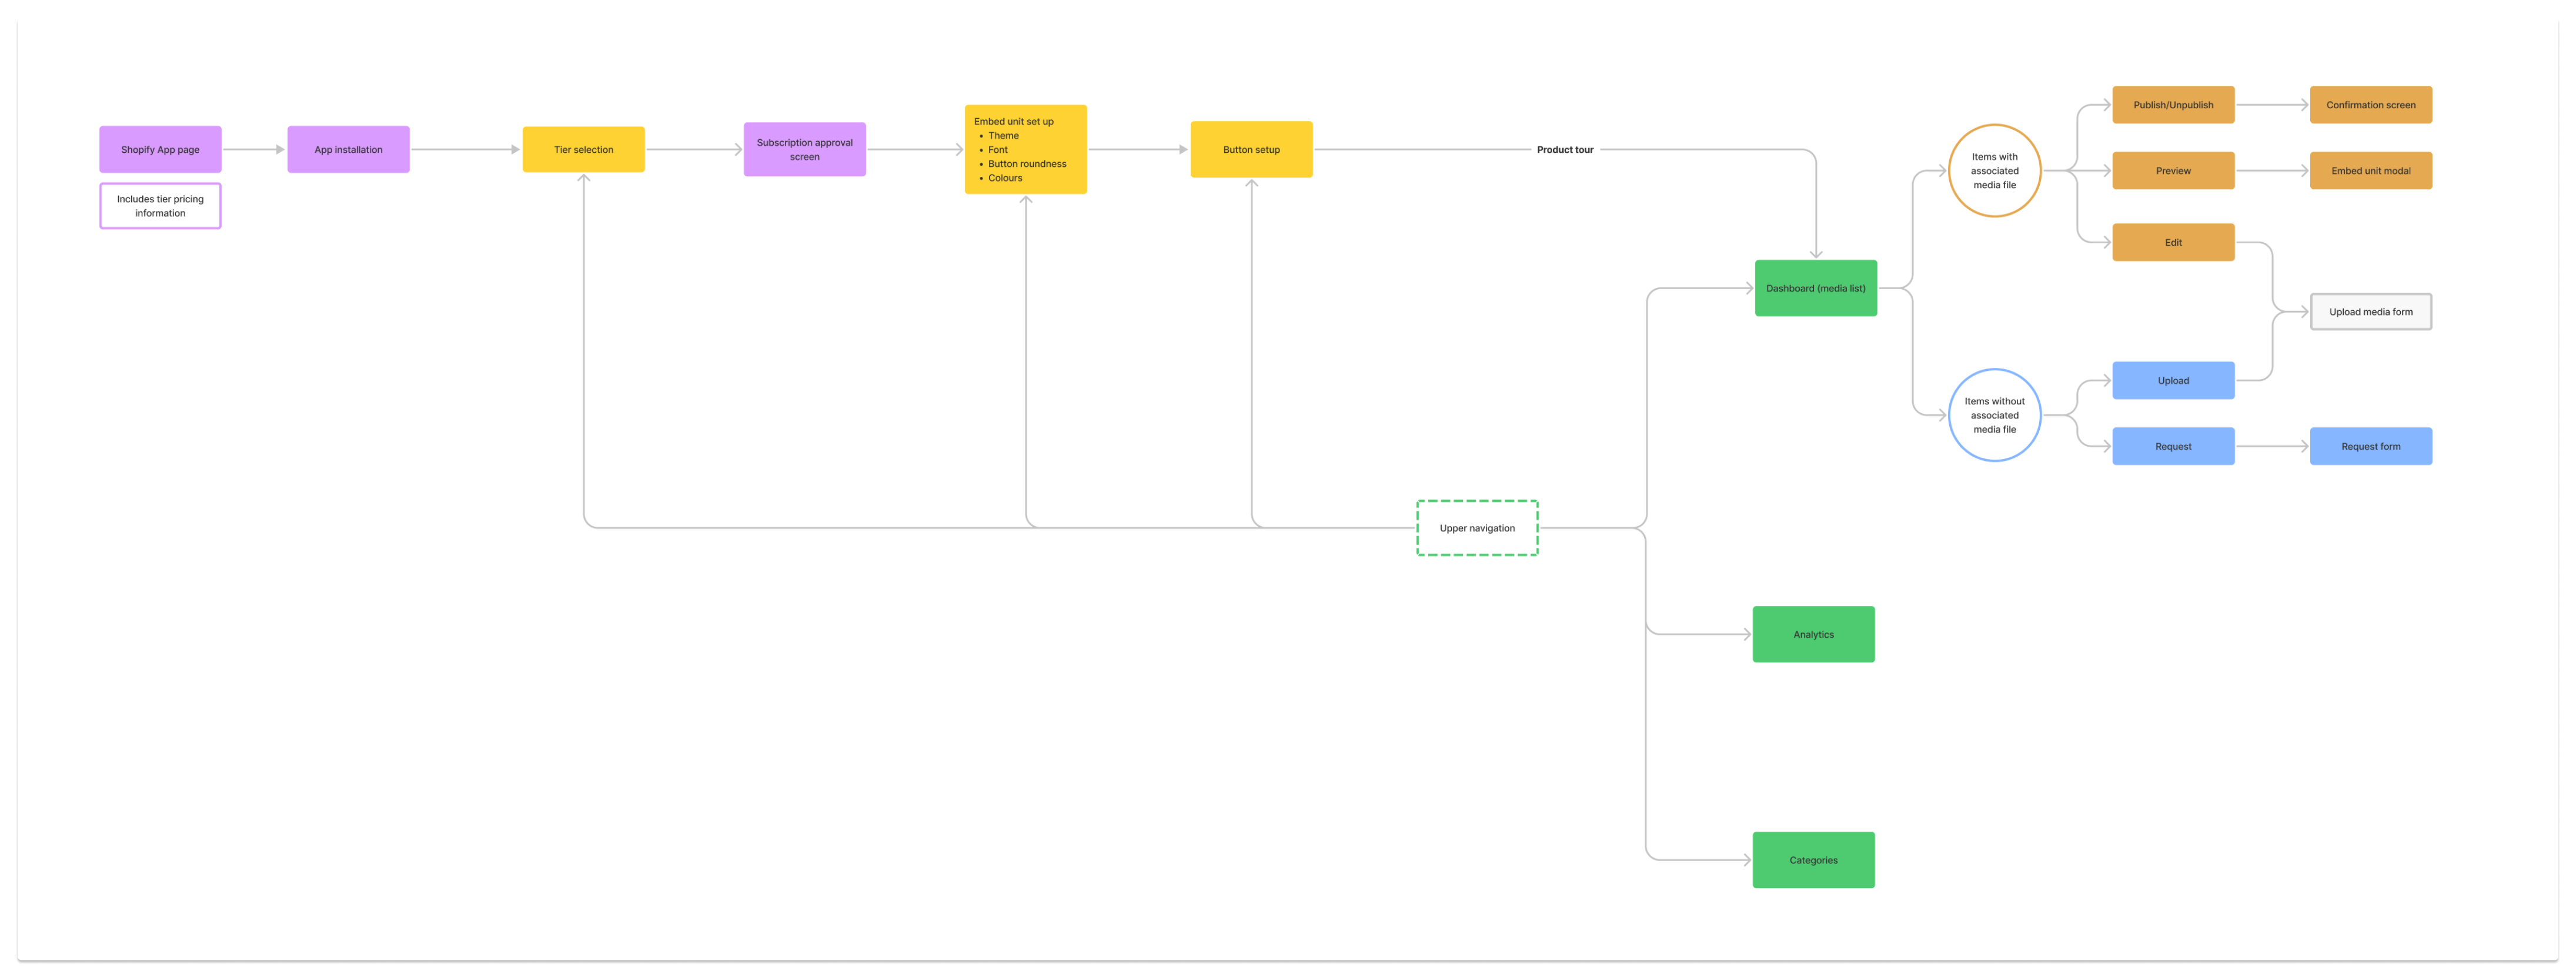
User flow
This flow includes the entire user journey for first time customers of the Shopify app, the process of installation, setting up their account and selecting a pricing plan. It then describes the main two actions that can be done on the dashboard (Request and Upload), as well as a couple of links to more settings (Categories) and other features (Analytics), which can be accessed through an upper navigation.
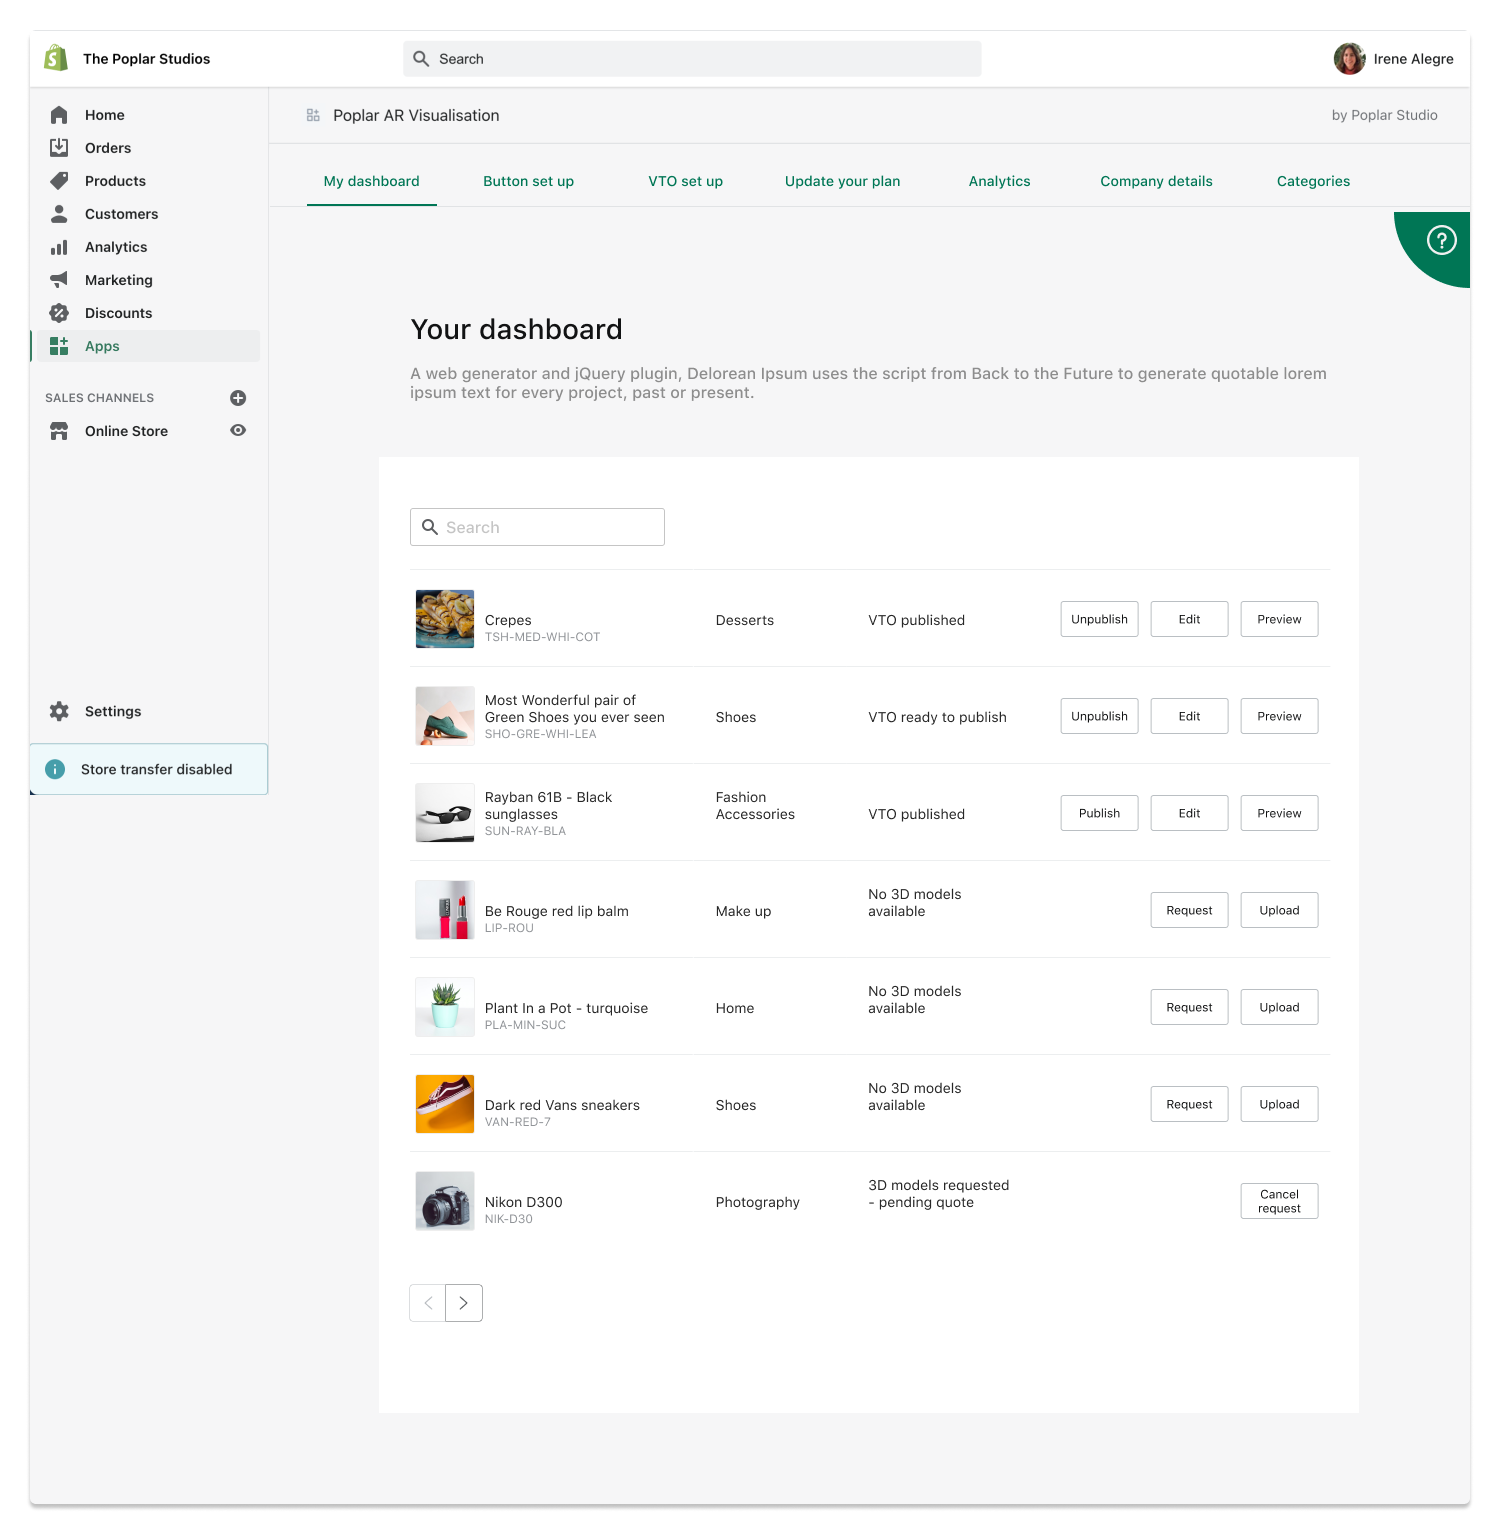
Screens
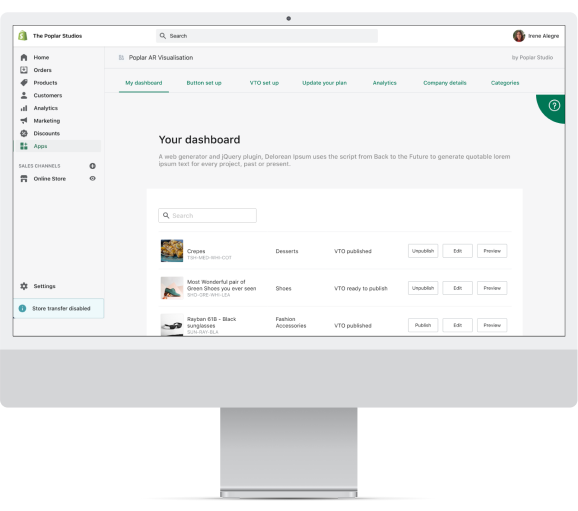
Dashboard
From the main dashboard our users can publish and un-publish 3D models, request for a 3D model to be made for a particular item in the catalogue and edit the files assigned to that product. Unlike the Media Library in the CMS, the Shopify dashboard pulls all the data from the client’s Shopify store, displaying the whole range of products they have set up in it.
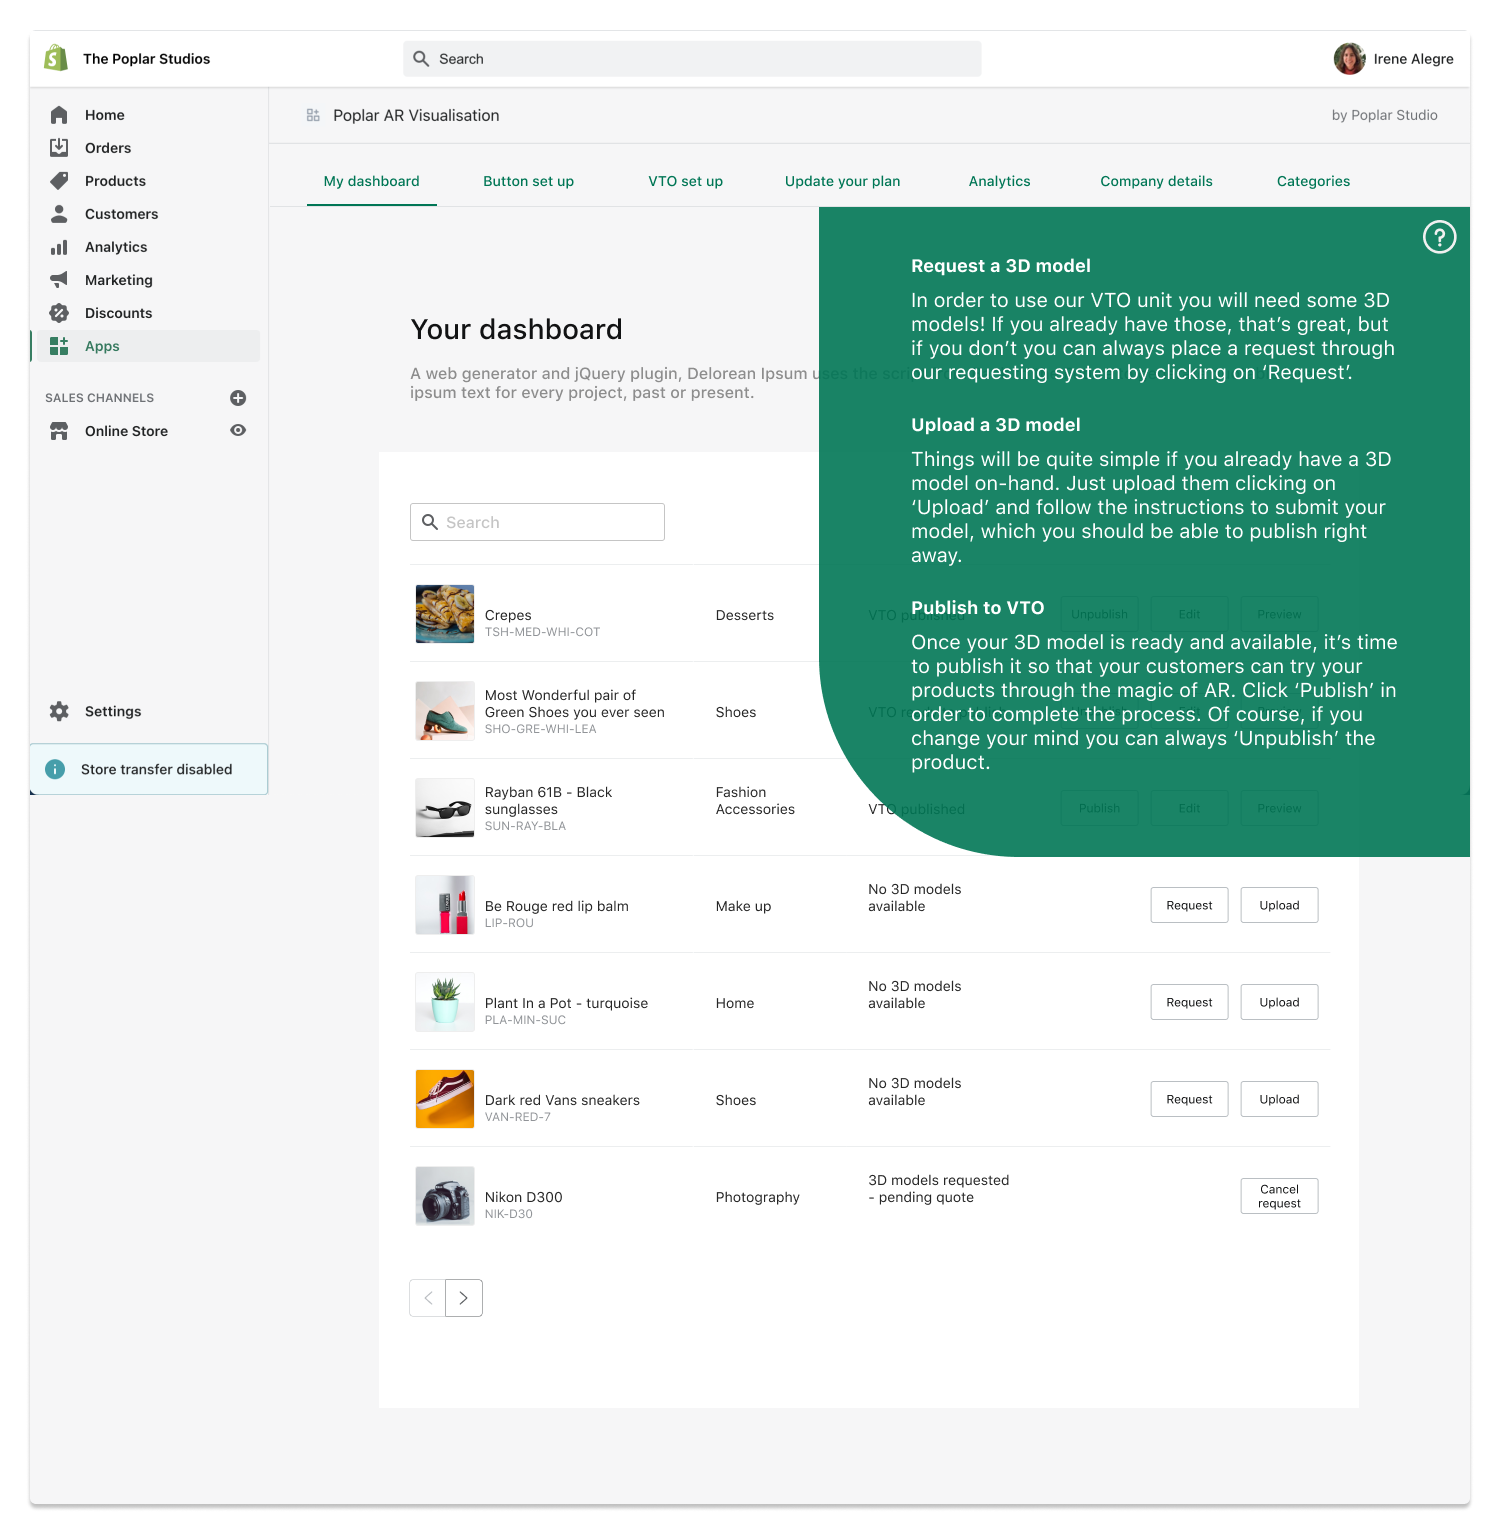
Upload a model
The Upload a model screen is fairly straightforward and doesn’t allow the user to modify any information related to the product, as that should be done from the main Shopify store. Instead, this form gives the user control over what type of visualisation they want for a particular product.

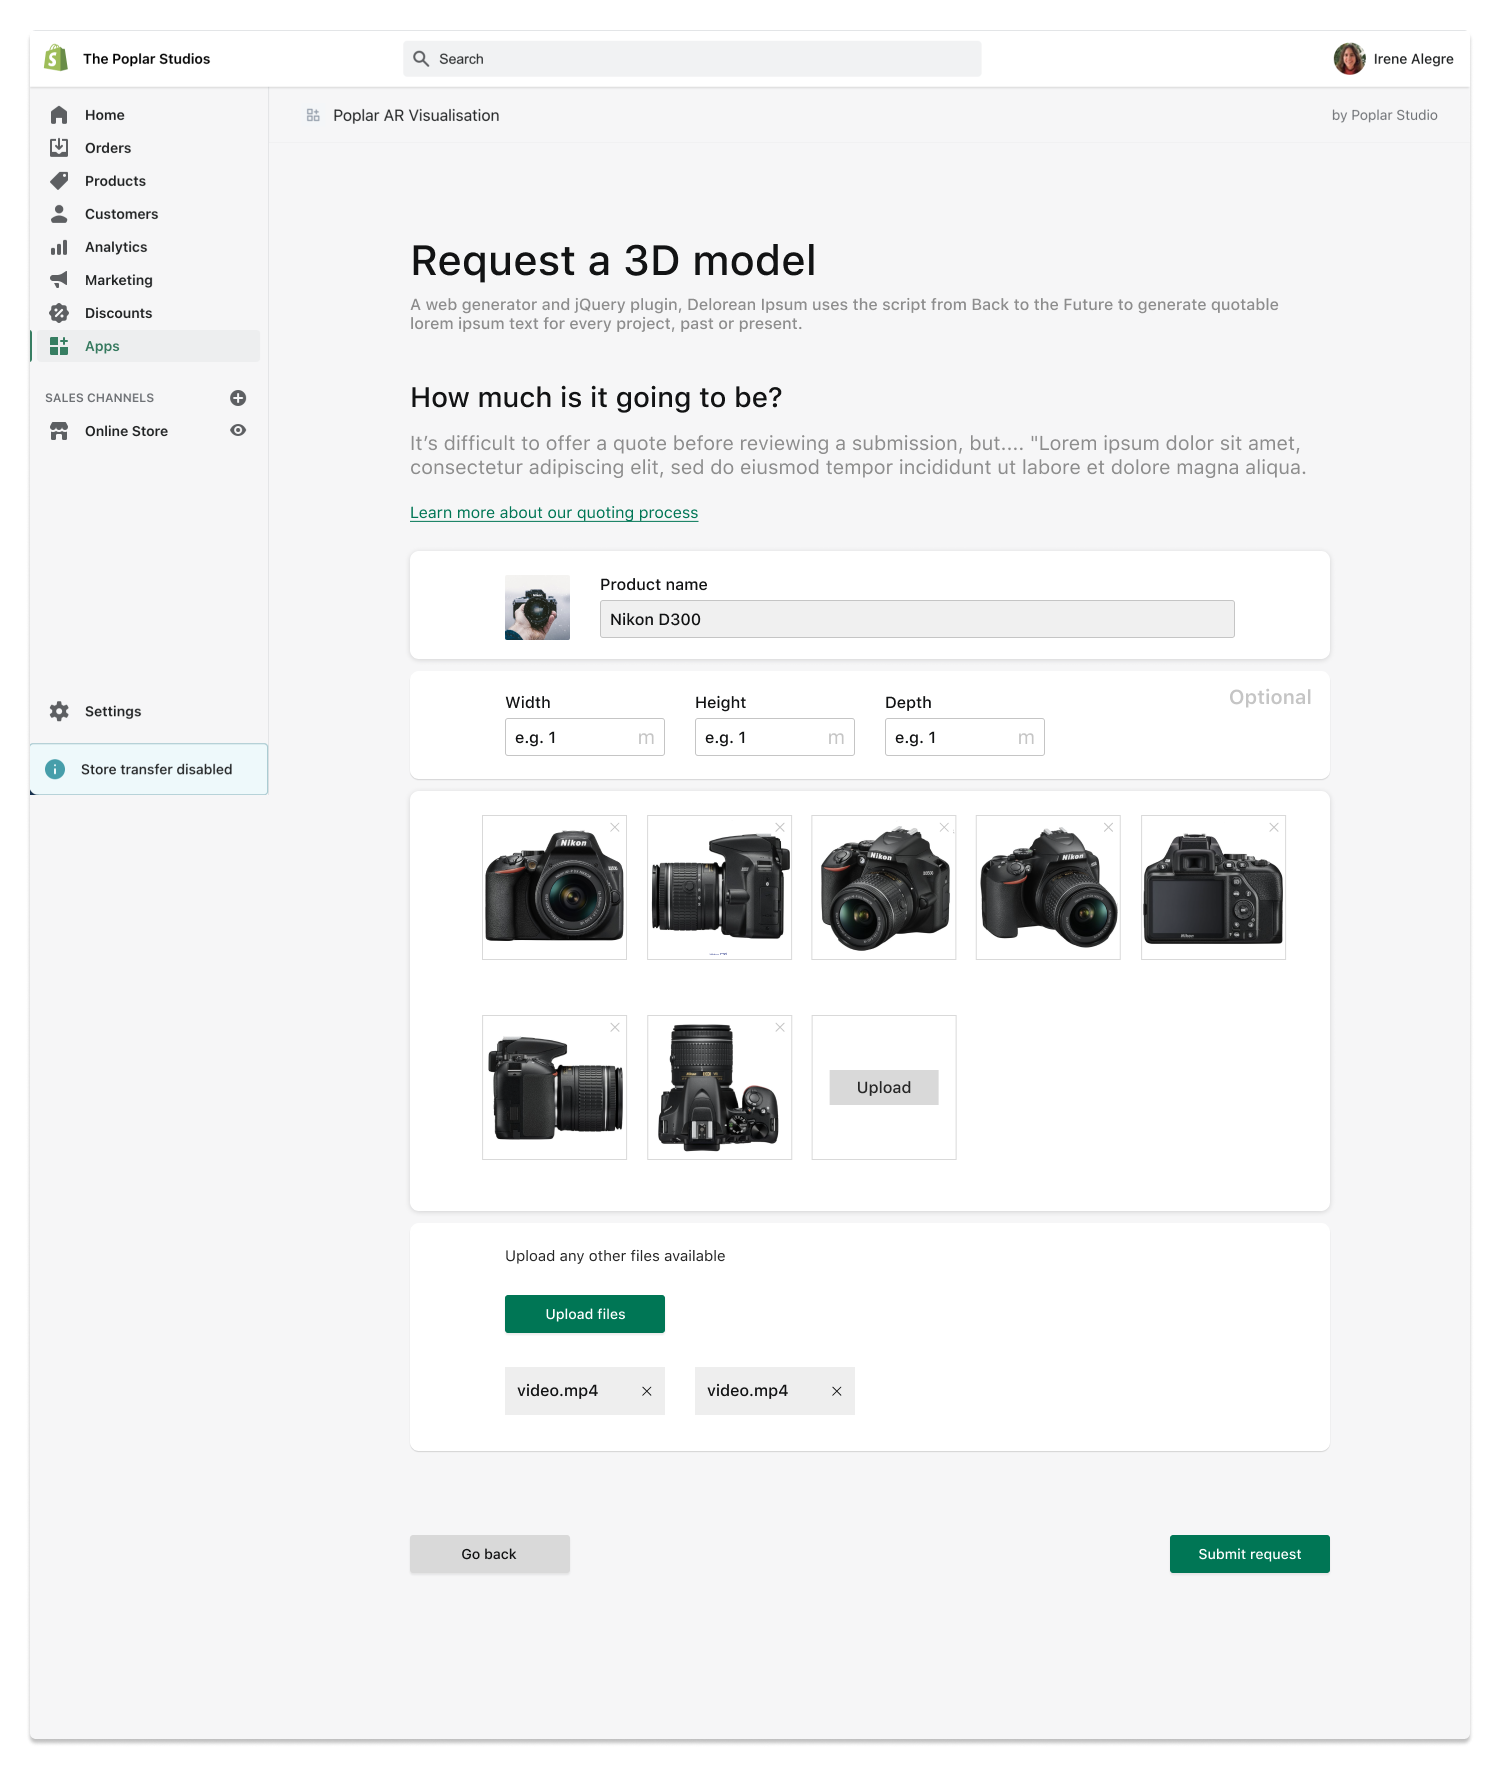
Request a model
This is a form that allows clients to request a 3D model to be made for a particular product. It pulls all the images available in the product catalogue (in the client’s Shopify store) and then the client can choose to remove or add more images.
In the future we would like to add some guidelines as to what kind of images are required by a creator in order to produce a 3D model, but for the time being we want to make this process as friction-free as possible for the client, which means we will be handling any issues and missing imagery offline.
Categories
Because the Shopify app and the CMS are connected, and because the Embed Unit includes categories, Shopify clients can create their own set of categories to classify their products in the Embed Unit.
This posed a bit of a problem in the beginning as Shopify has its own classification system, which works similarly to a tag system (where categories can be combined) as opposed to an exclusive system (where a product can only be assigned to one category).

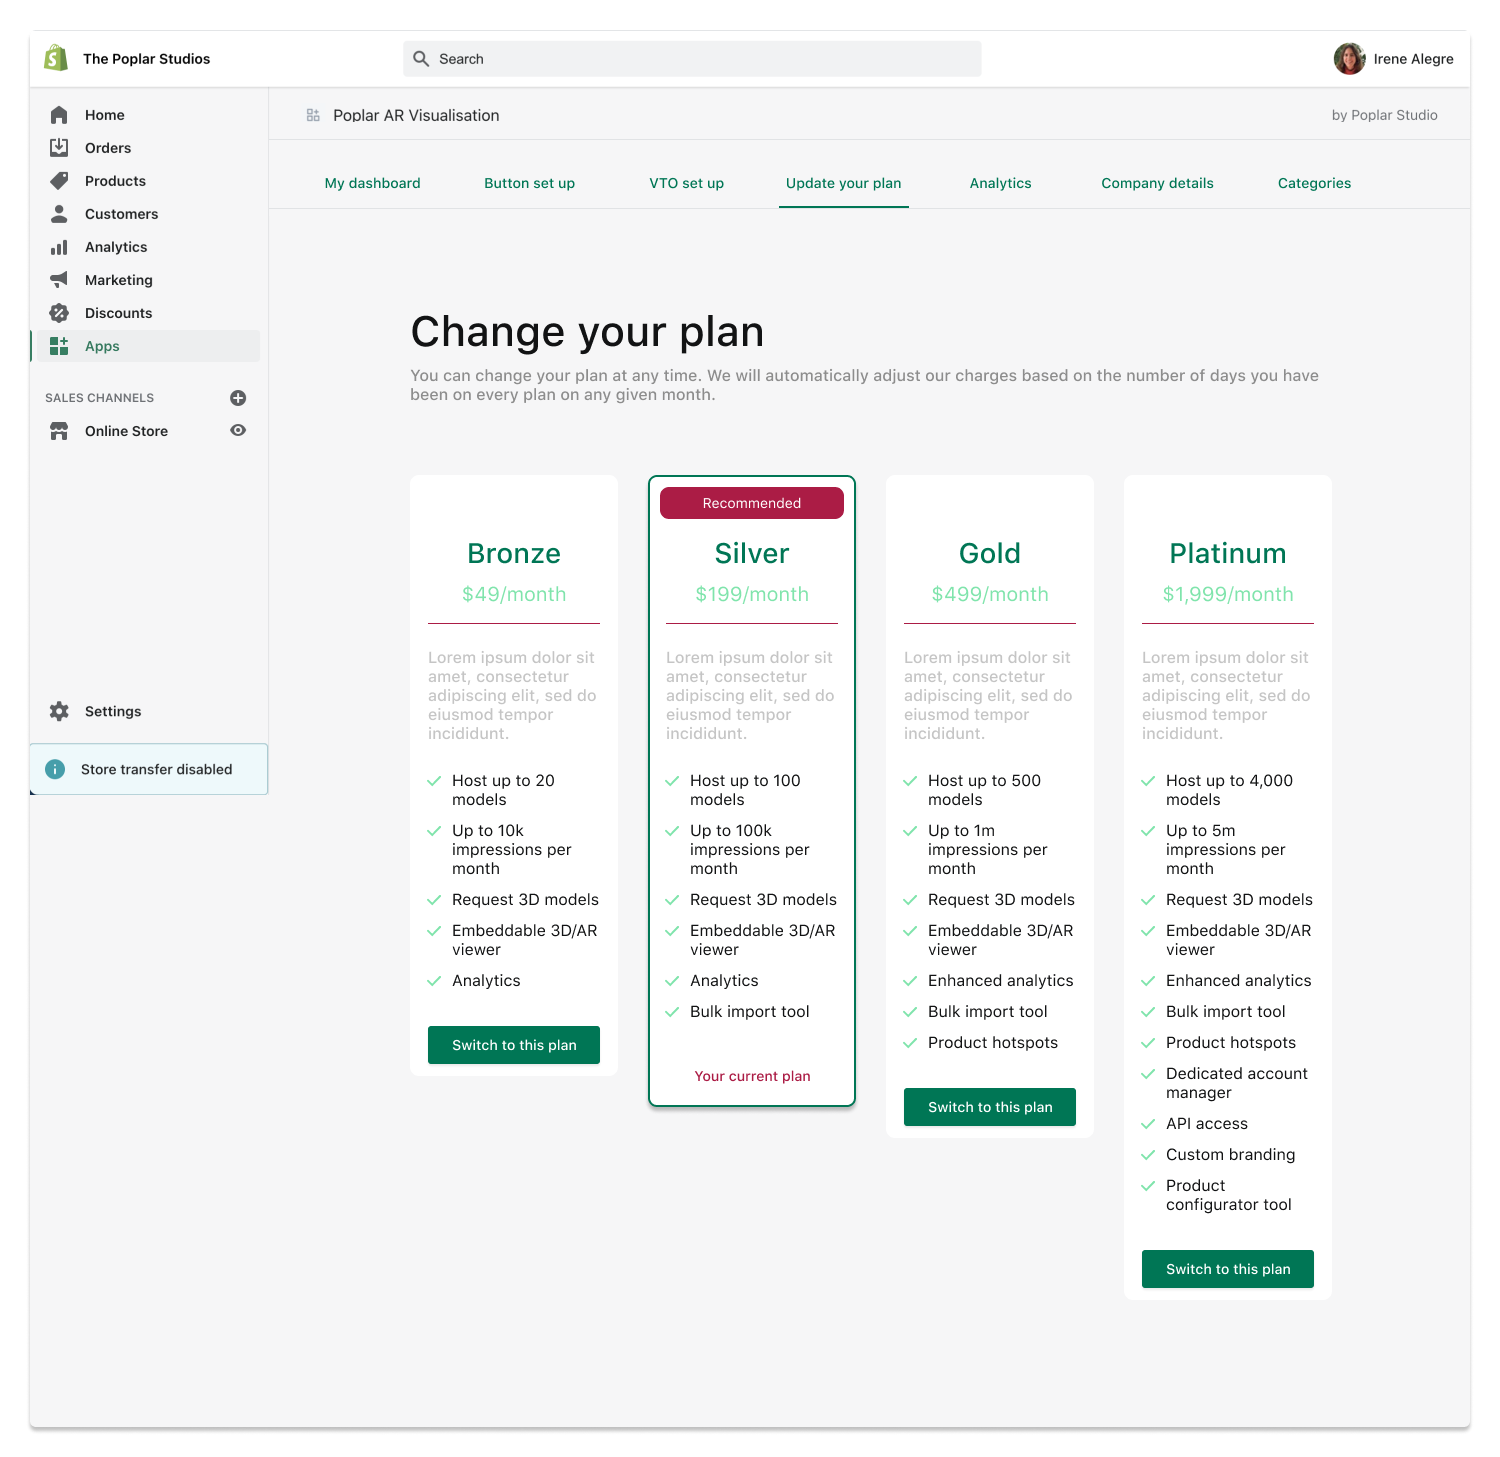
Change your tier
The below is a very simple page that describes the available pricing plans and what features are included for each of them. The content is dummy content.